[特殊] 出番は少ないが使えるPower Appsのテンプレート2
出番は少ないが、活用できるテンプレートの残りです。
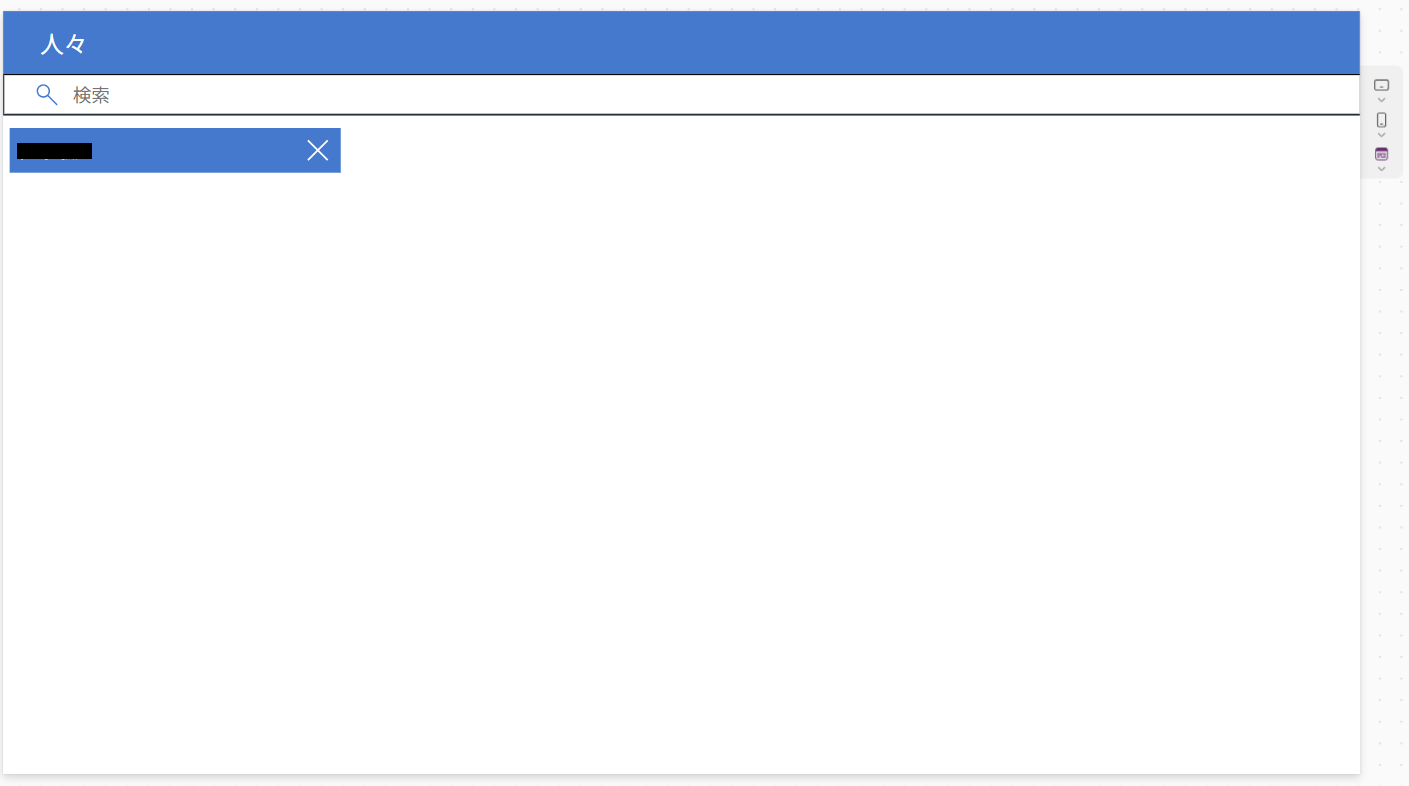
テンプレート「人々」
テンプレート「人々」は、組織内のユーザー検索に使う画面です。
例えば、ユーザーを検索し、特定のユーザーにだけ何か処理を行いたい時に使います。
検索でヒットしたユーザーを選択すると、選択した状態を持てるので、これを使って次の処理に回せます。

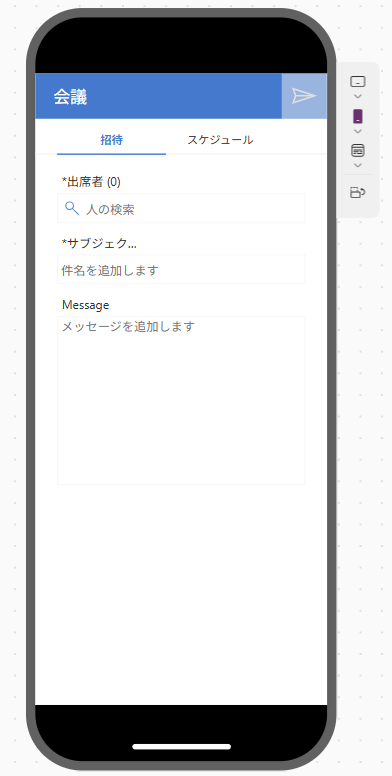
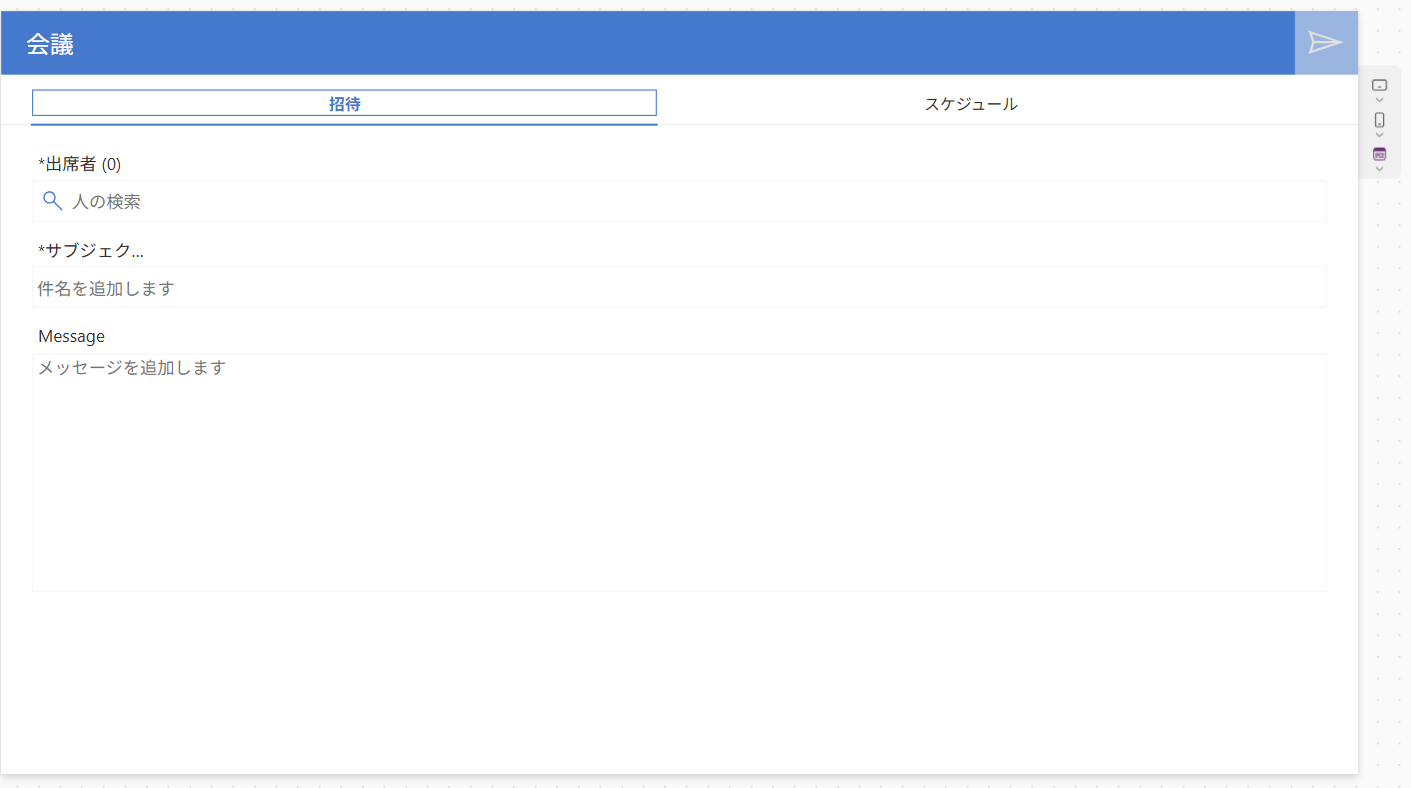
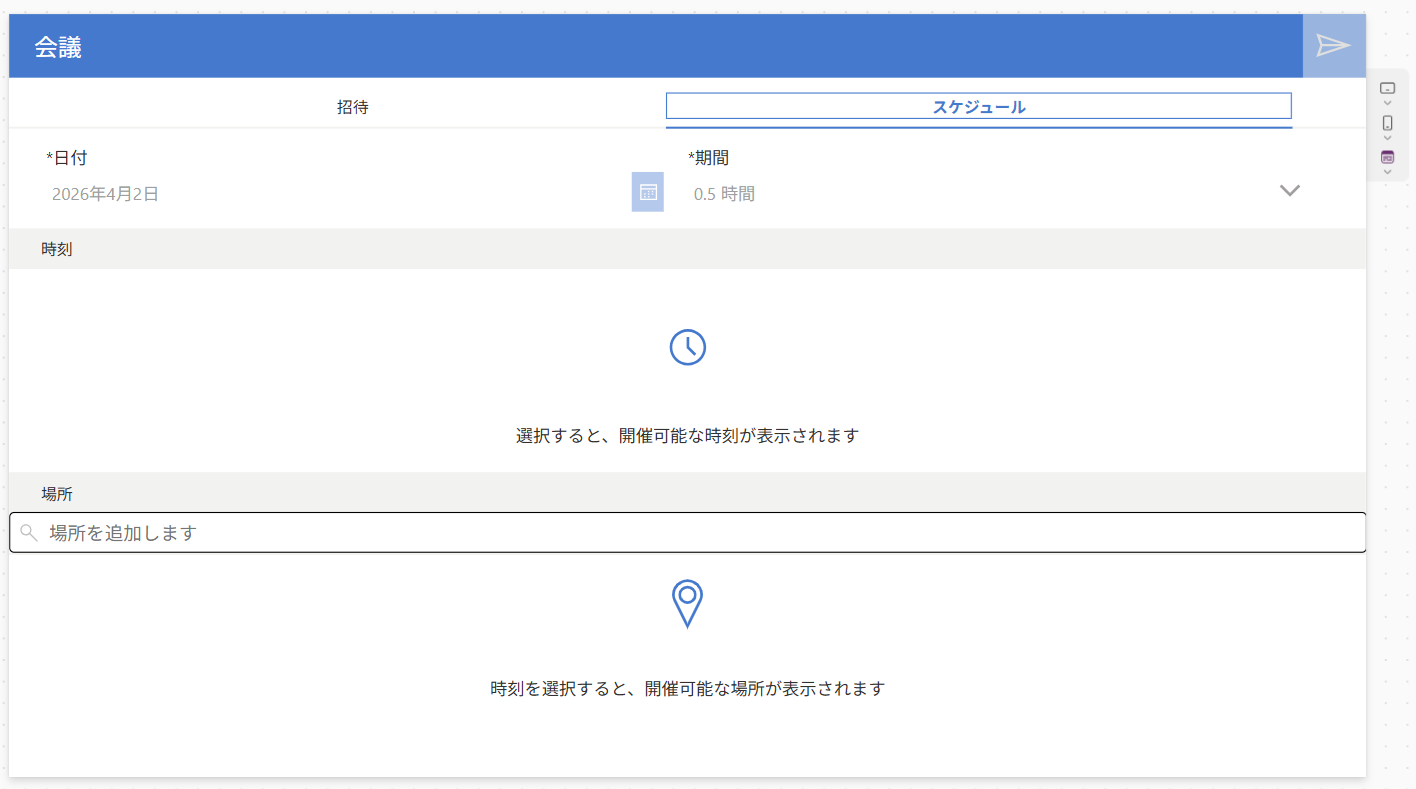
テンプレート「会議」
テンプレート「会議」は、会議設定やスケジュール登録をする時に使います。
さながら、Outlookのスケジュール登録機能を表現したものです。
検索したユーザーを選択すると、ユーザーのスケジュール情報を取得するため、空き時間なども分かるようになります。
このテンプレートの核はギャラリーごとに使用されている式にあります。
いくつか取り上げると、まず、下記の式(ギャラリーコントロールのItemに設定)は検索窓で組織内のユーザーを表示するのに使われます。
If(!IsBlank(Trim(TextSearchBox3.Text)), 'Office365ユーザー_2'.SearchUser({searchTerm: Trim(TextSearchBox3.Text), top: 15}))
次に、下記の式は、検索窓に表示されたユーザー名(ラベルコントロールのOnSelect)に設定されたものです。
ユーザー名が選択されると、_selectedUserに値が入り、他のラベルなどに情報連携されます。
同時に、If文内にあるMyPeopleからデータ(スケジュール情報など)を取得します。
Concurrent(
Reset(TextSearchBox3),
Set(_selectedUser, ThisItem),
If(Not(ThisItem.UserPrincipalName in MyPeople.UserPrincipalName),
	Collect(MyPeople, ThisItem);
	Concurrent(
	Set(_showMeetingTimes, false),
	UpdateContext({_loadMeetingTimes: true}),
	Set(_selectedMeetingTime, Blank()),
	Set(_selectedRoom, Blank()),
	Set(_roomListSelected, false),
/*
Uses Office365 Outlook FindMeetingTimes operation to find available meeting times given various parameters including a semicolon separated list of attendee email addresses,
a meeting duration (in minutes), an acceptable start and end range to find the meeting.
Attendee emails are retrieved from the MyPeople collection. Duration and Start/End are retrieved from their respective dropdowns, where Start is set to 8:00 AM on the date selected, and End is set to 5:00 PM on the date selected.
*/
	ClearCollect(MeetingTimes, AddColumns(Office365Outlook_1.FindMeetingTimes(
		{RequiredAttendees:Concat(MyPeople, UserPrincipalName & ";"), MeetingDuration:MeetingDurationSelect1.Selected.Minutes,
		Start:Text(DateAdd(MeetingDateSelect1.SelectedDate, 8, TimeUnit.Hours), DateTimeFormat.UTC), End:Text(DateAdd(MeetingDateSelect1.SelectedDate, 17, TimeUnit.Hours), DateTimeFormat.UTC),
		MaxCandidates:15, MinimumAttendeePercentage:1, IsOrganizerOptional: false, ActivityDomain: "Work"}).MeetingTimeSuggestions,
	StartTime, MeetingTimeSlot.Start.DateTime, EndTime, MeetingTimeSlot.End.DateTime))
	);
UpdateContext({_loadingMeetingTimes: false});
Set(_showMeetingTimes, true)
))
ユーザー名が選択されると、別のギャラリーから選択ユーザーのリストが生成されます。
ラベルコントロールのOnSelectには下記の式が設定されます。
Set(_selectedUser, ThisItem)
送信時(アイコンのOnSelectに設定)に使われるのが下記の式です。
Set関数で_(アンダーバー)から始まる各変数に値をセットし、V2CalendarPostItemを使ってスケジュール登録します。
※V2CalendarPostItemはOutlookのアクション
送信後はConcurrent関数を使うことで、Reset関数とClear関数、Set関数(空白をセット)により、初期化を行います。
※Concurrent関数は、複数の式を同時に評価する
/*sends a meeting invite if necessary fields are filled out (attendees, subject, meeting time selection)*/
Set(_myCalendarName, LookUp(Office365Outlook_1.CalendarGetTables().value, DisplayName = "Calendar").Name);
Set(_myScheduledMeeting, Office365Outlook_1.V2CalendarPostItem(_myCalendarName,
 TextMeetingSubject1.Text, Text(DateAdd(DateTimeValue(_selectedMeetingTime.StartTime), -TimeZoneOffset(), TimeUnit.Minutes)),
 Text(DateAdd(DateTimeValue(_selectedMeetingTime.EndTime), -TimeZoneOffset(), TimeUnit.Minutes)),
 {RequiredAttendees:Concat(MyPeople, UserPrincipalName & ";") & _selectedRoom.Address, Body: TextMeetingMessage1.Text, Location: _selectedRoom.Name, Importance: "Normal", ShowAs:"Busy", ResponseRequested: true}));
 Concurrent(
   Reset(TextMeetingLocation1),
   Reset(TextMeetingSubject1),
   Reset(TextMeetingMessage1),
   Clear(MyPeople),
   Set(_selectedMeetingTime, Blank()),
   Set(_selectedRoomList, Blank()),
   Set(_selectedRoom, Blank()),
   Set(_roomListSelected, false)
)
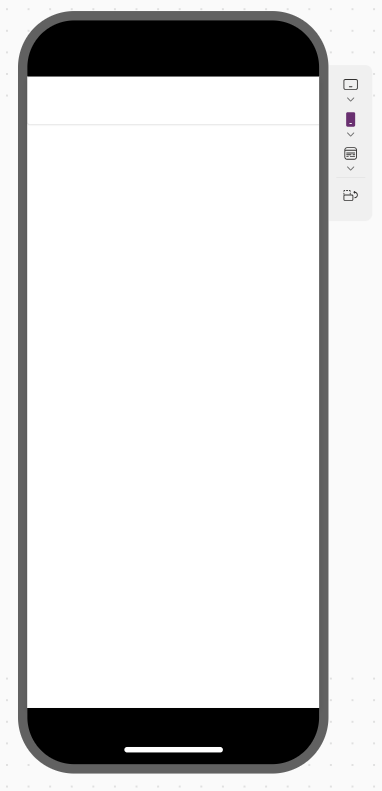
ステップ4で見たテンプレート「電子メール」に似ており、スマートフォン向けでも画面は崩れません。
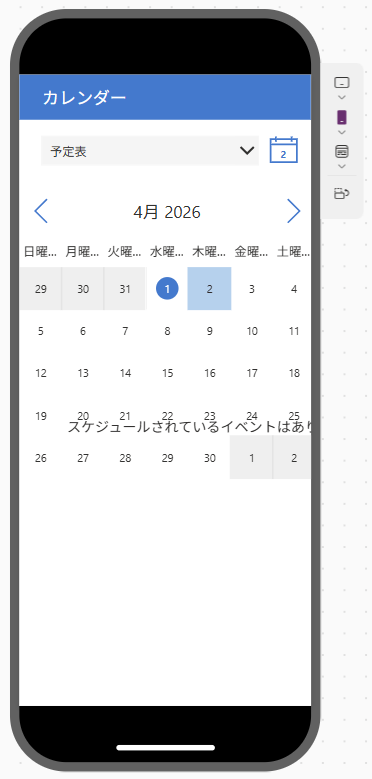
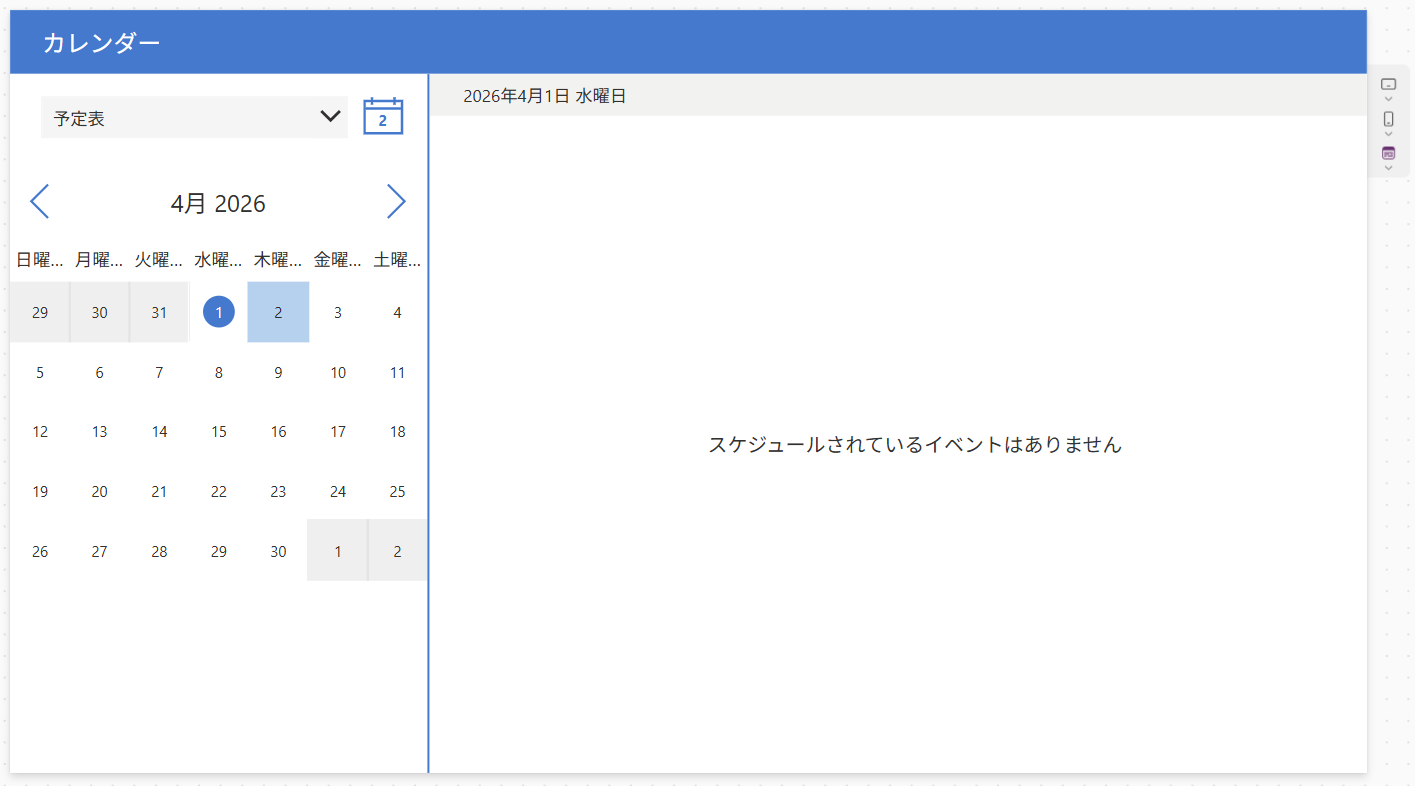
テンプレート「カレンダー」
テンプレート「電子メール」とテンプレート「会議」があるように、Outlookのスケジュール機能にもあるカレンダーも、テンプレートで用意されています。
テンプレート「カレンダー」は、ログインユーザーのスケジュール情報を取得し、表示するものです。
※スケジュール登録機能はありません
テンプレート「電子メール」とテンプレート「会議」と組み合わせれば、Outlookの代替を実現できます。
なお、スマートフォン向けには画面が崩れます。
※PC画面では、日付を選択すると登録された予定が右側に表示されます
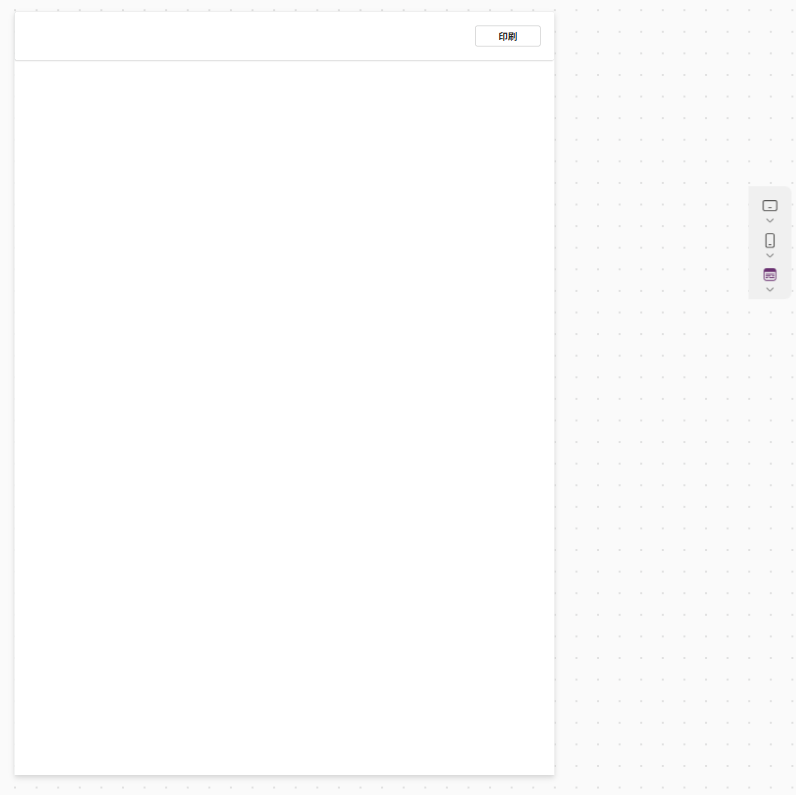
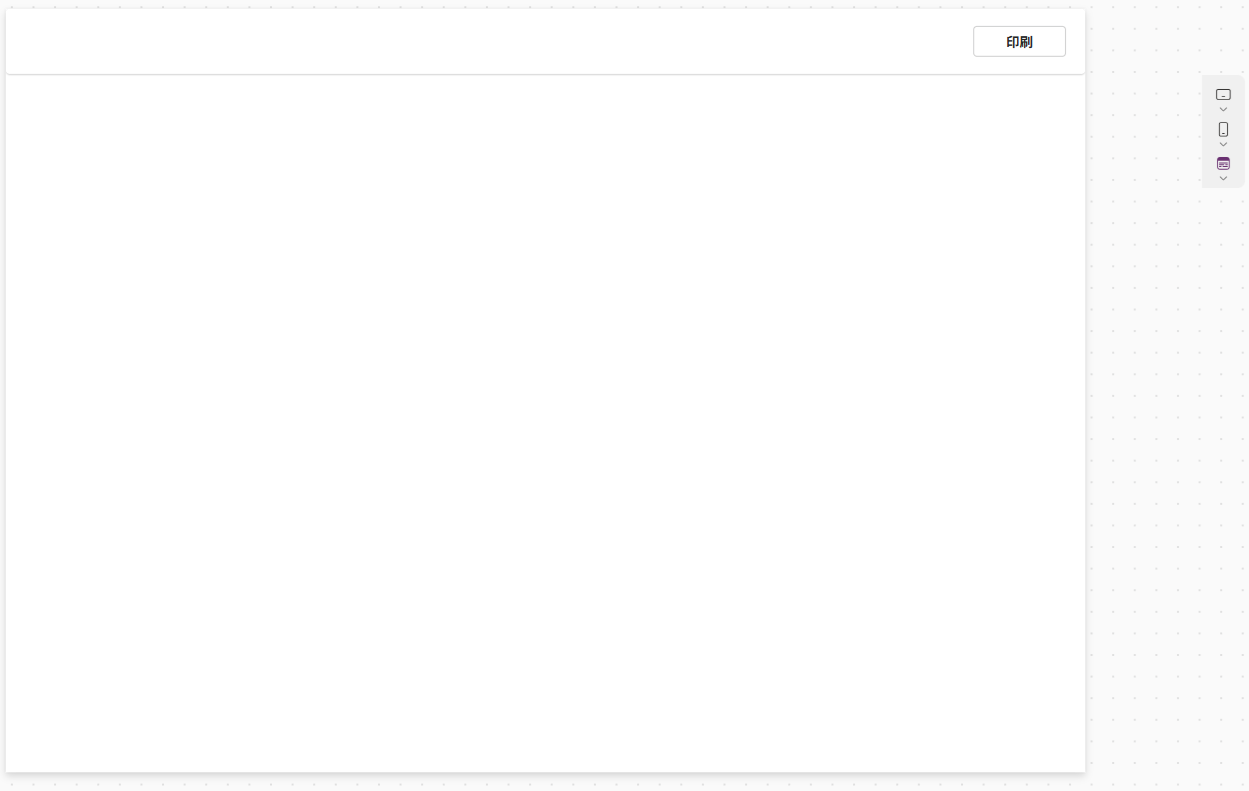
テンプレート「縦長で印刷」
テンプレート「縦長で印刷」は、縦長の印刷用画面です。
このテンプレートは、スクリーンのWidthとHeightを固定値で設定してあるため、画面は縦長固定になります。
アプリの機能として、印刷機能を持たせる場合に有効です。
印刷の実行は、ボタンのOnSelectにPrint関数が使われています。
※Print関数の公式リファレンス(印刷サイズとアプリサイズの組み合わせも載っている)
長さが固定のため、当然にスマートフォン向けでは画面が崩れます。
※印刷ボタンが表示されません
テンプレート「横長で印刷」
テンプレート「縦長で印刷」に対し、テンプレート「横長で印刷」は、横長印刷に使います。
基本的な内容はテンプレート「縦長で印刷」と同じで、やはりこのテンプレートもWidthとHeightが固定値です。
長さが固定のため、スマートフォン向けでは画面が崩れます。
※印刷ボタンが表示されません
広告